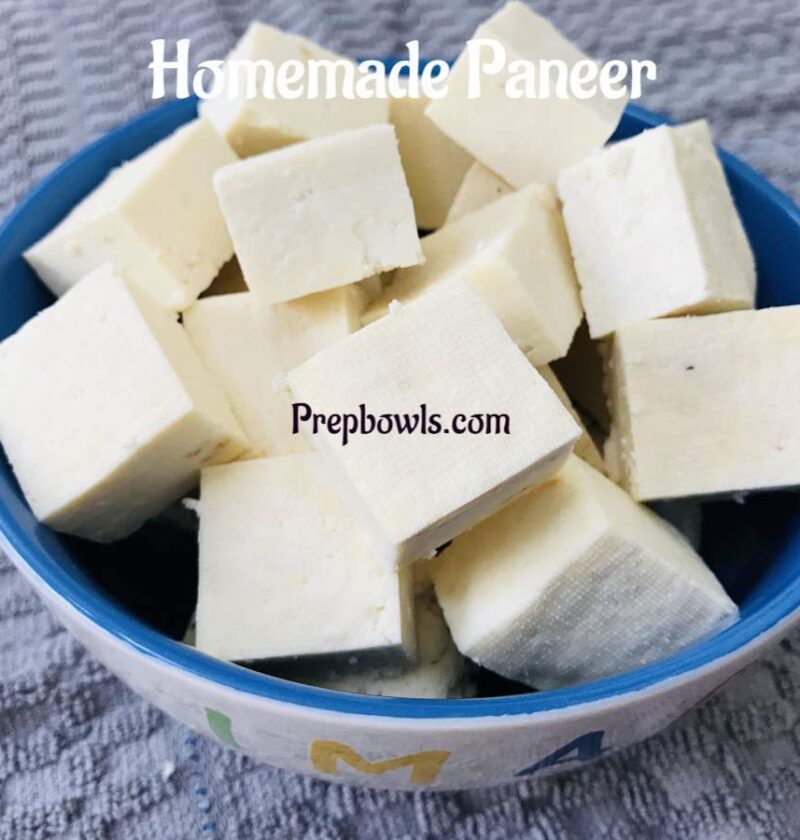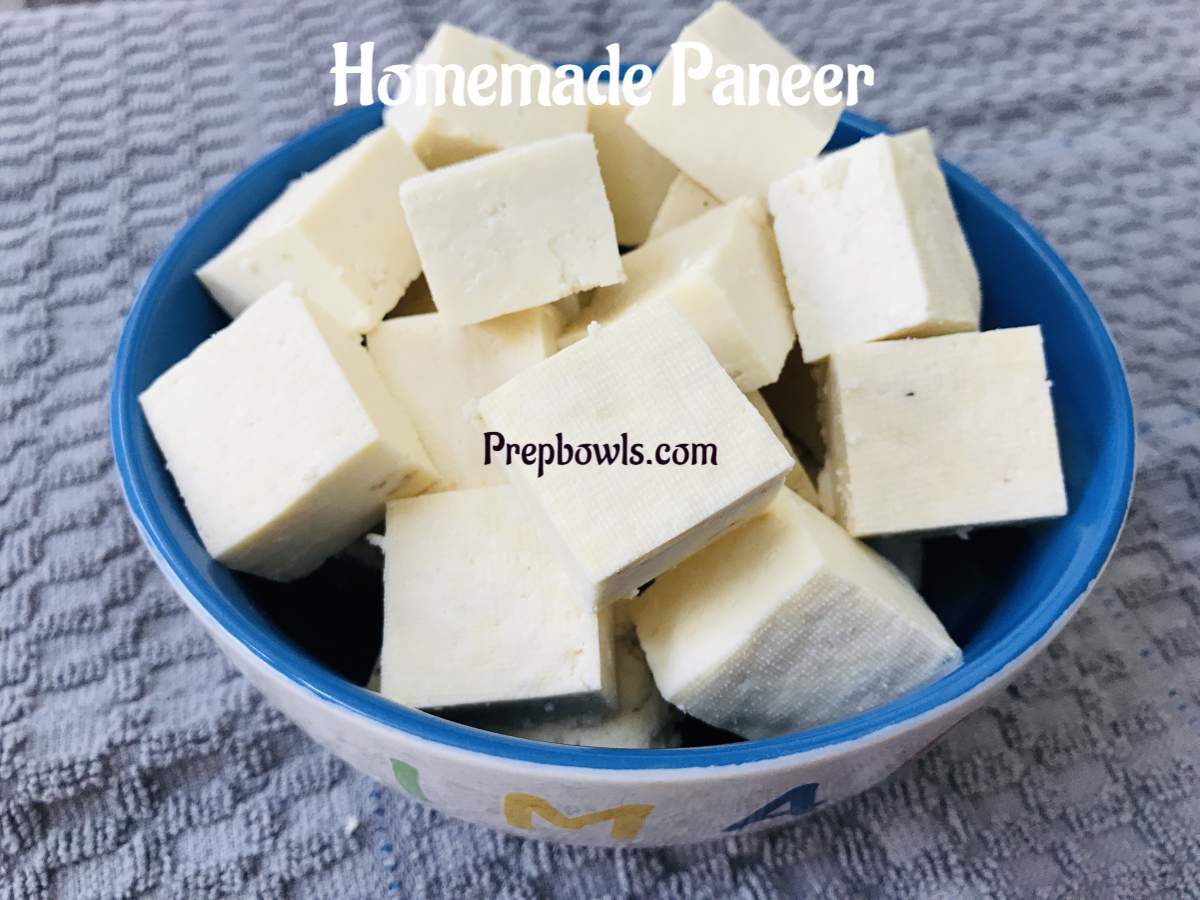
Paneer is a fresh cheese commonly used in Indian cooking. It Is made by curdling the milk with food acids, such as lemon juice / vinegar / citric Acid or yogurt / curd. It is a simple and easy process. When it comes to homemade paneer, the taste and texture is incredible. Recipe includes instructions with stepwise pictures and tips.
There is no menu on the restaurant without paneer . Five in ten vegetarian curry / gravy or appetizer uses paneer as a main ingredients in the dish or added in different forms. Paneer is tasteless by itself ,but when cooked with spices it blends perfectly to gives rich-tasty flavors. Its very popular among the kids. If we ask them what they want on the buffet or on a vegetarian menu , they always ask if there is paneer? So it is absolute worth your time trying it homemade.

Alternative Ingredients for Lemon Juice In The Recipe
This Recipe Uses Lemon Juice. For best results dilute the lemon juice with water and then add it to the milk to curdle.
You can also use 1 cup curd / yogurt to 1 gallon (3.79 liters) of milk to curdle it .
Or Use diluted white distilled Vinegar .
What To Do With The Water Drained From The Milk?
Water which is drained from the milk is called “whey” which is nutritious . Do not throw that, use it in gravies , curries or making chapati / rotis dough instead of water to get very soft and tasty rotis / chapatis.
Refrigeration Time Is Highly Recommended
Refrigeration Time is important before cutting the paneer into desired shaped . This resting time helps the paneer to hold its shape and SET well. Also helps the paneer from crumbling. Its gives the perfect cut every time.
After the one -two hour refrigeration time in the recipe (Place some weight on the paneer), Either you can put the paneer in a ziplock and Freeze It as a whole block and cut them when you are using it in the recipes . Alternatively you can cut them into desired shapes and then Ziploc it and freeze it too.
Can Spoiled Milk Be Used To Make Paneer ?
Yes you can use spoiled milk to make paneer , BUT I have used ONLY WHOLE MILK / FULL FAT MILK . Follow the same recipe given here. I have tried many time making it with spoiled milk too and turns out the exactly the same paneer like making it with fresh whole milk.
How To Use Paneer In The Recipes?
Paneer can be cut into desired shapes and used directly into the prepared curries / gravies. But should be added only at the end after curry masala / paste is prepared . This is to retain its softness.
Alternatively paneer can be shallow fried and then added in the prepared curry / gravy at the end. Take a NON STICK (recommended) tawa/pan and add few drops of oil and heat ONLY in LOW flame. once hot ( do not wait until the smoke comes from the oil) Add the cut paneer into the pan and toss it for one or two minutes ( when you see very slight browning) remove from pan and plunge the fried paneer into the WARM water till required to use in the recipe , which helps to keep paneer soft.
Step By Step Pictures How To Make The Paneer
Dilute the lemon juice with the given amount of water and keep it ready.
Pour the Milk in a heavy bottom pan / pot and heat in medium – low flame only. Use a big sized ladle and stir in -between making sure not to burn the milk in the bottom of the pan. Bring the milk to a boil . When its start to boil ( you will see the milk will rise up and bubbles , froth from the milk will start to come )

Add the water diluted lemon juice slowly into the boiling milk. Reduce the flame to LOW.

Stir the milk ONCE or TWICE. When the milk curdles completely and clear water starts to separate (approximately 5 to 10 minutes) , switch off the flame and remove from heat.

Cool down the mixture for a while . You can see the milk and water will completely get separated during this time.

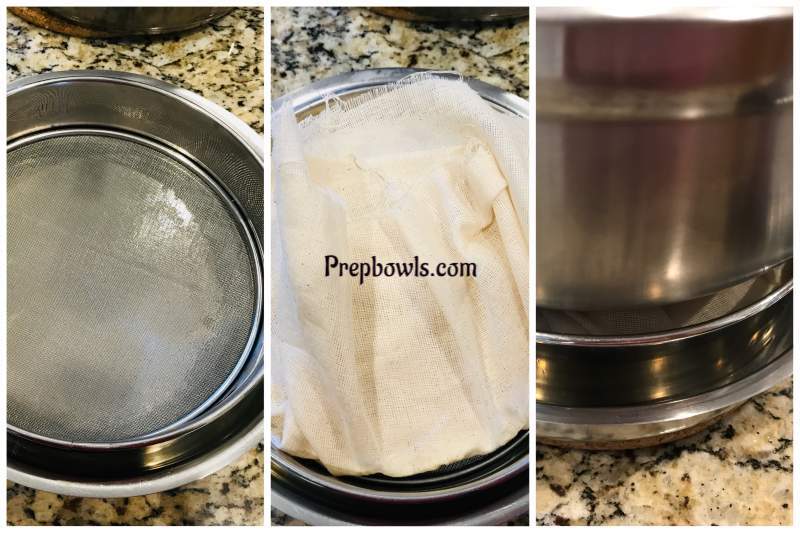
Pour the curdled mixture into a fine meshed sieve and place a wide bowl below to catch the drained water ( this drained water can be used in recipes). Now run cold tap water (for few seconds) on the curdled paneer crumbs to remove any lemon flavor.
Now spread a muslin cloth / cheesecloth (is a cotton cloth with fine weave) . Transfer the paneer crumbs from the sieve to the muslin cloth for setting.
Now place the muslin cloth with paneer back to the sieve and place any heavy weight on the paneer for an hour until any excess water gets drained.
After an hour keep the paneer without opening the muslin cloth inside the refrigerator and place some weight and leave it overnight or at-least 2 to 3 hours. Then remove the paneer from the cheese cloth
Cut it into desired shapes and freeze it or put the whole block paneer without cutting into a Ziploc and freeze it. When you are going to use it in the recipes , thaw , cut into the shapes and use.
Ingredients
Instructions
- Dilute the lemon juice with the given amount of water and keep it ready.
- Pour the Milk in a heavy bottom pan / pot and heat in medium - low flame only. Use a big sized ladle and stir in -between making sure not to burn the milk in the bottom of the pan. Bring the milk to a boil . When its start to boil ( you will see the milk will rise up and bubbles , froth from the milk will start to come ) Add the water diluted lemon juice slowly into the boiling milk. Reduce the flame to LOW. Stir the milk ONCE or TWICE. When the milk curdles completely and clear water starts to separate (approximately 5 to 10 minutes) , switch off the flame and remove from heat. Cool down the mixture for a while . You can see the milk and water will completely get separated during this time.
- Pour the curdled mixture into a fine meshed sieve and place a wide bowl below to catch the drained water ( this drained water can be used in recipes). Now run cold tap water on the curdled paneer crumbs to remove any lemon flavor (for few seconds only). Now spread a muslin cloth / cheesecloth (is a cotton cloth with fine weave) . Transfer the paneer crumbs from the sieve to the muslin cloth for setting. Now place the muslin cloth with paneer back to the sieve and place any heavy weight on the paneer for an hour until any excess water gets drained.
- After an hour keep the paneer without opening the muslin cloth inside the refrigerator and place some weight and leave it overnight or at-least 2 to 3 hours. Then remove the paneer from the cheese cloth and cut it into desired shapes and freeze it or put the whole block paneer without cutting into a Ziploc and freeze it. When you are going to use it in the recipes , thaw , cut into the shapes and use.
Notes
*Do not keep milk in high heat and boil , It will get burned in the bottom very quickly and whole milk/ paneer will get burned smell.
* Simmer to low flame after adding the lemon juice and do not stir much after that.
*Resting / cooling time is important before straining it into the Sieve .
*Running Cold tap water for few seconds is optional , but it will remove any lemony flavor in the paneer.
*Refrigeration Time for one-two hours (place any weight on the paneer) is important before cutting the paneer into desired shaped .It helps the paneer to set well.
*Use SHARP Serrated Knife to cut the panner.

Tried This Recipe?
If you have made this recipe and like it then do share the recipe link in facebook and pinterest and for Instagram mention @Prepbowls or tag #Prepbowlsaarthi
